
Whether you’re looking to add some serious volume to your 4A curls or want to switch up your look without commitment, this curly hair extensions tutorial is about to become your new best friend. I’ve been there – standing in front of the mirror wondering how to make those gorgeous extensions blend seamlessly with my natural texture. Trust me, with the right techniques and a little patience, you’ll be serving looks that’ll have everyone asking, “Is that all your hair?”
What Are Curly Hair Extensions?
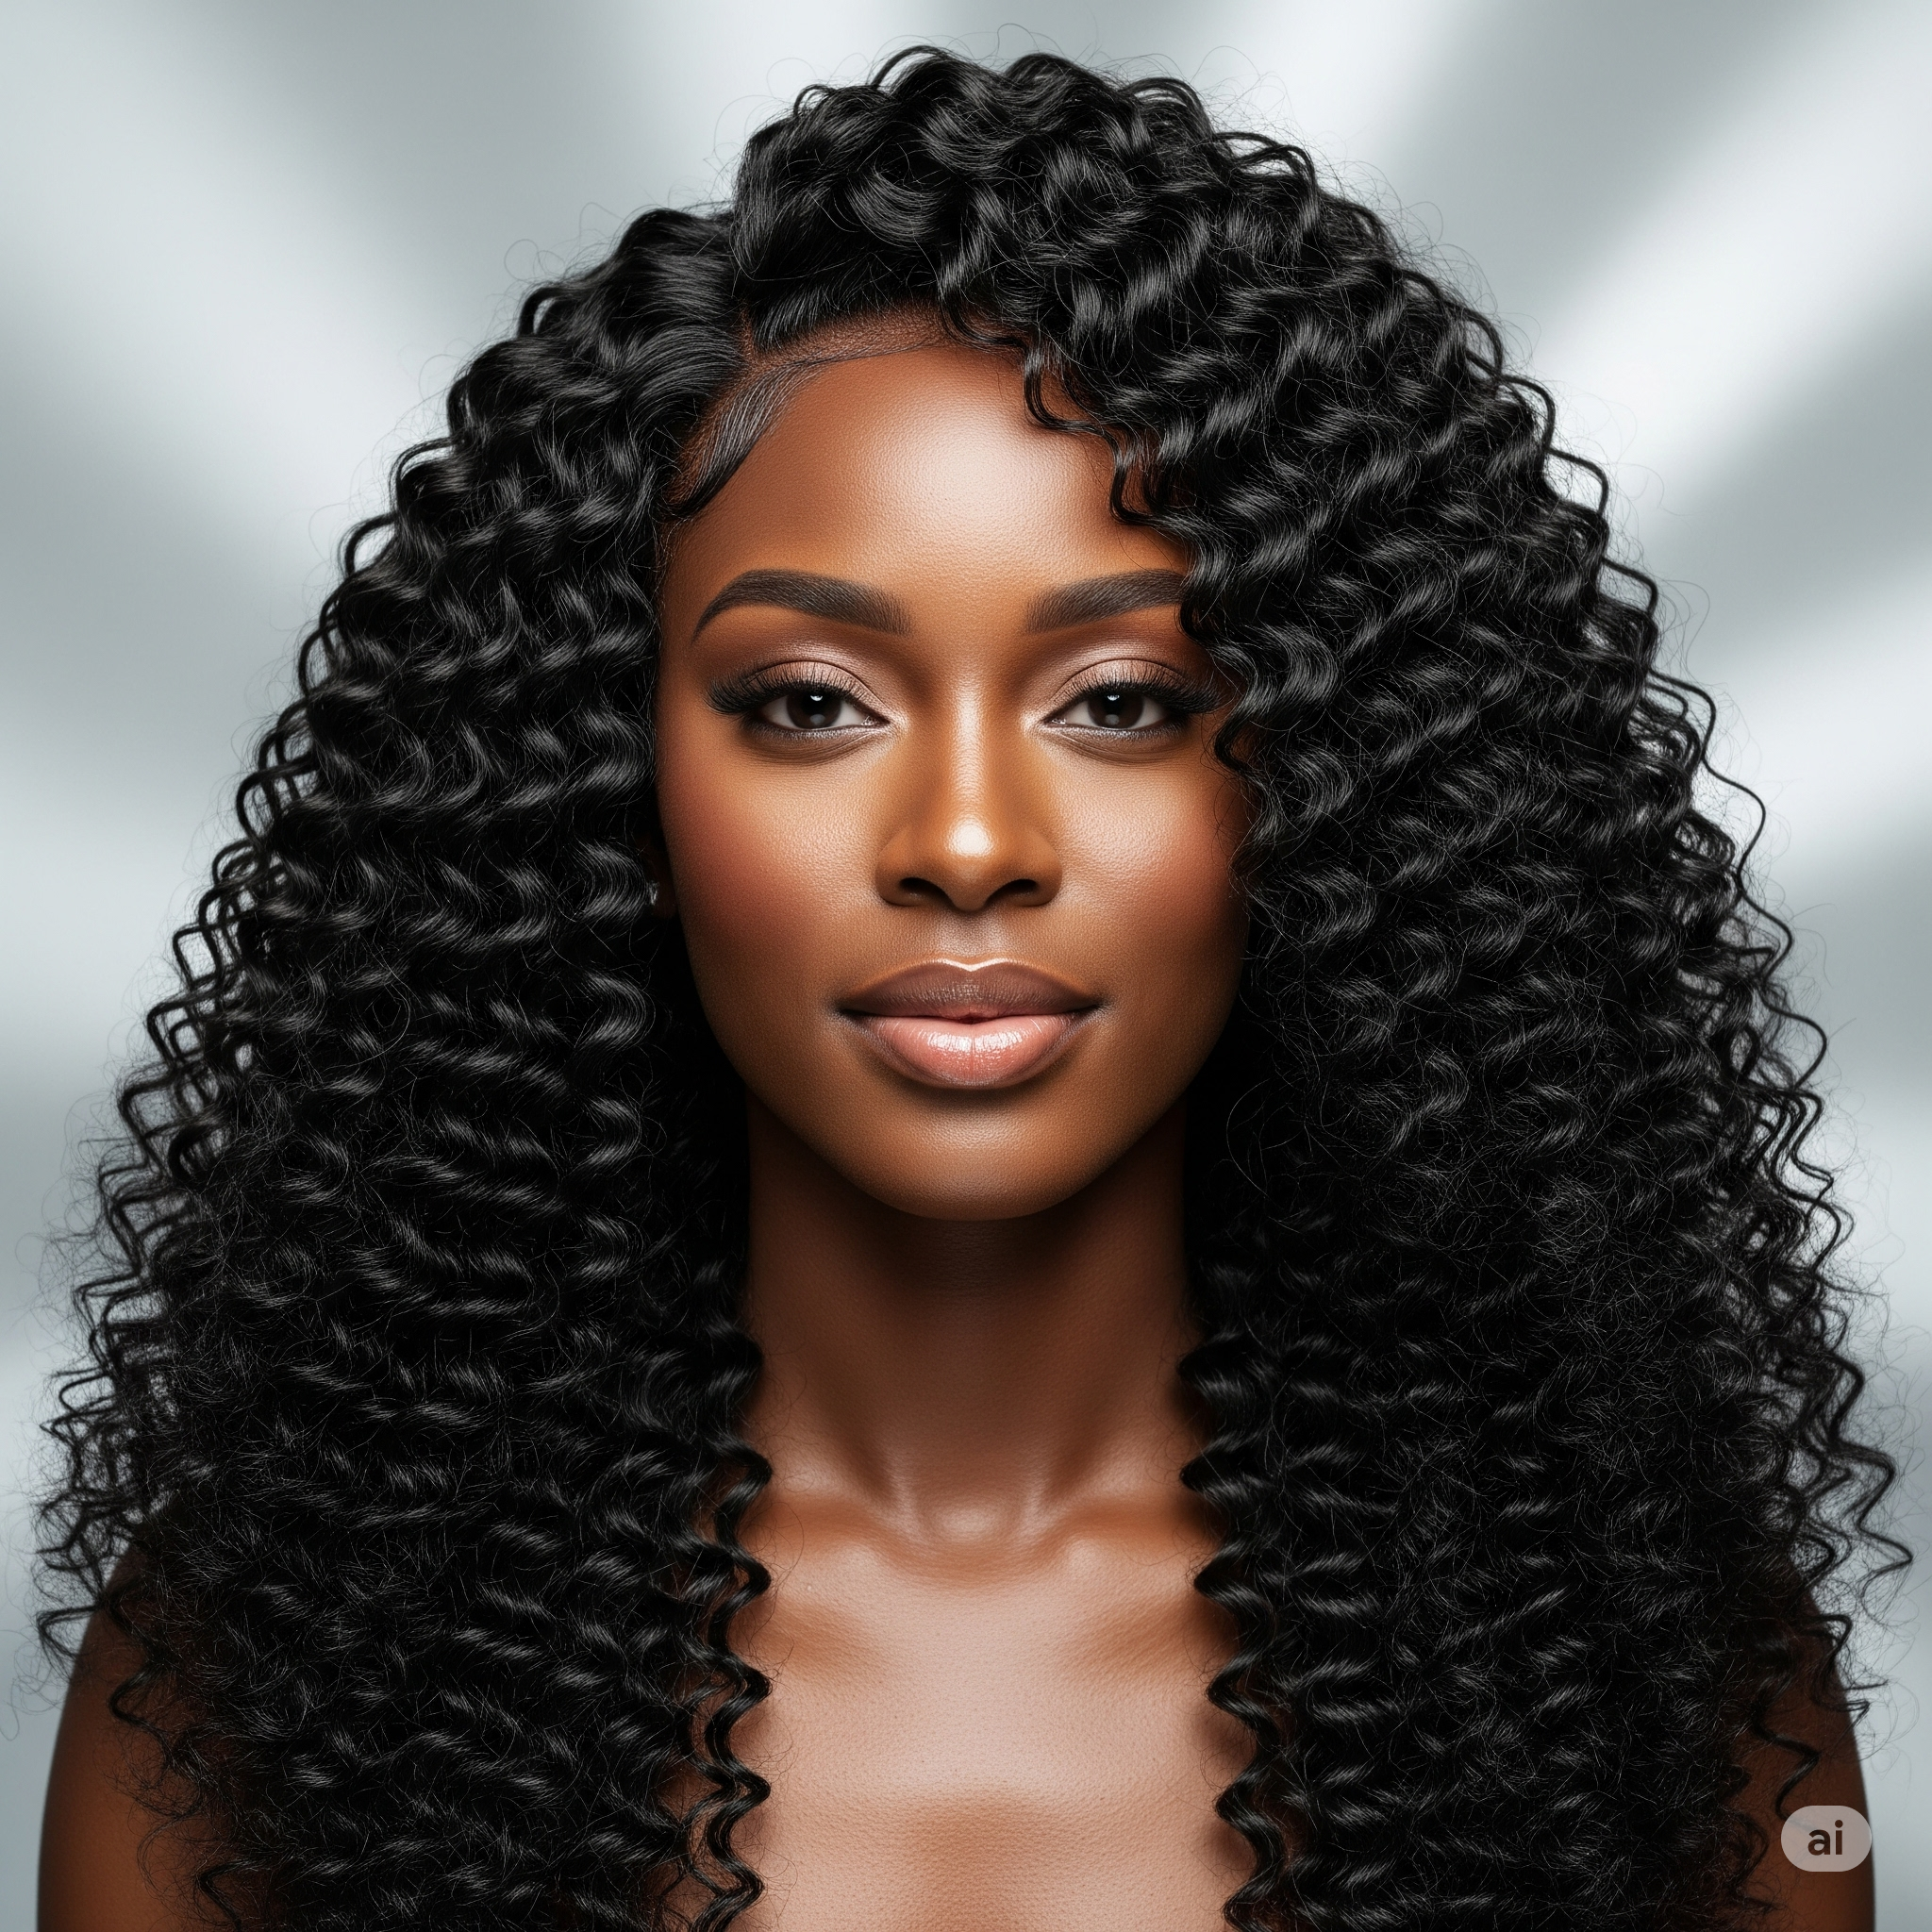
Curly hair extensions are exactly what they sound like – hair pieces designed to match and enhance your natural curl pattern. They come in various forms: clip-ins (perfect for beginners), tape-ins (for longer wear), and sew-ins (the most permanent option). The beauty of these extensions lies in their versatility – they’re available in curl patterns ranging from loose 3A waves to tight 4C coils.
These extensions aren’t just about length, honey. They’re your ticket to protective styling while still looking absolutely fabulous. Whether you want to give your natural hair a break from daily manipulation or simply want to experiment with different textures, curly extensions offer the perfect solution.
Choosing the Right Curly Hair Extensions
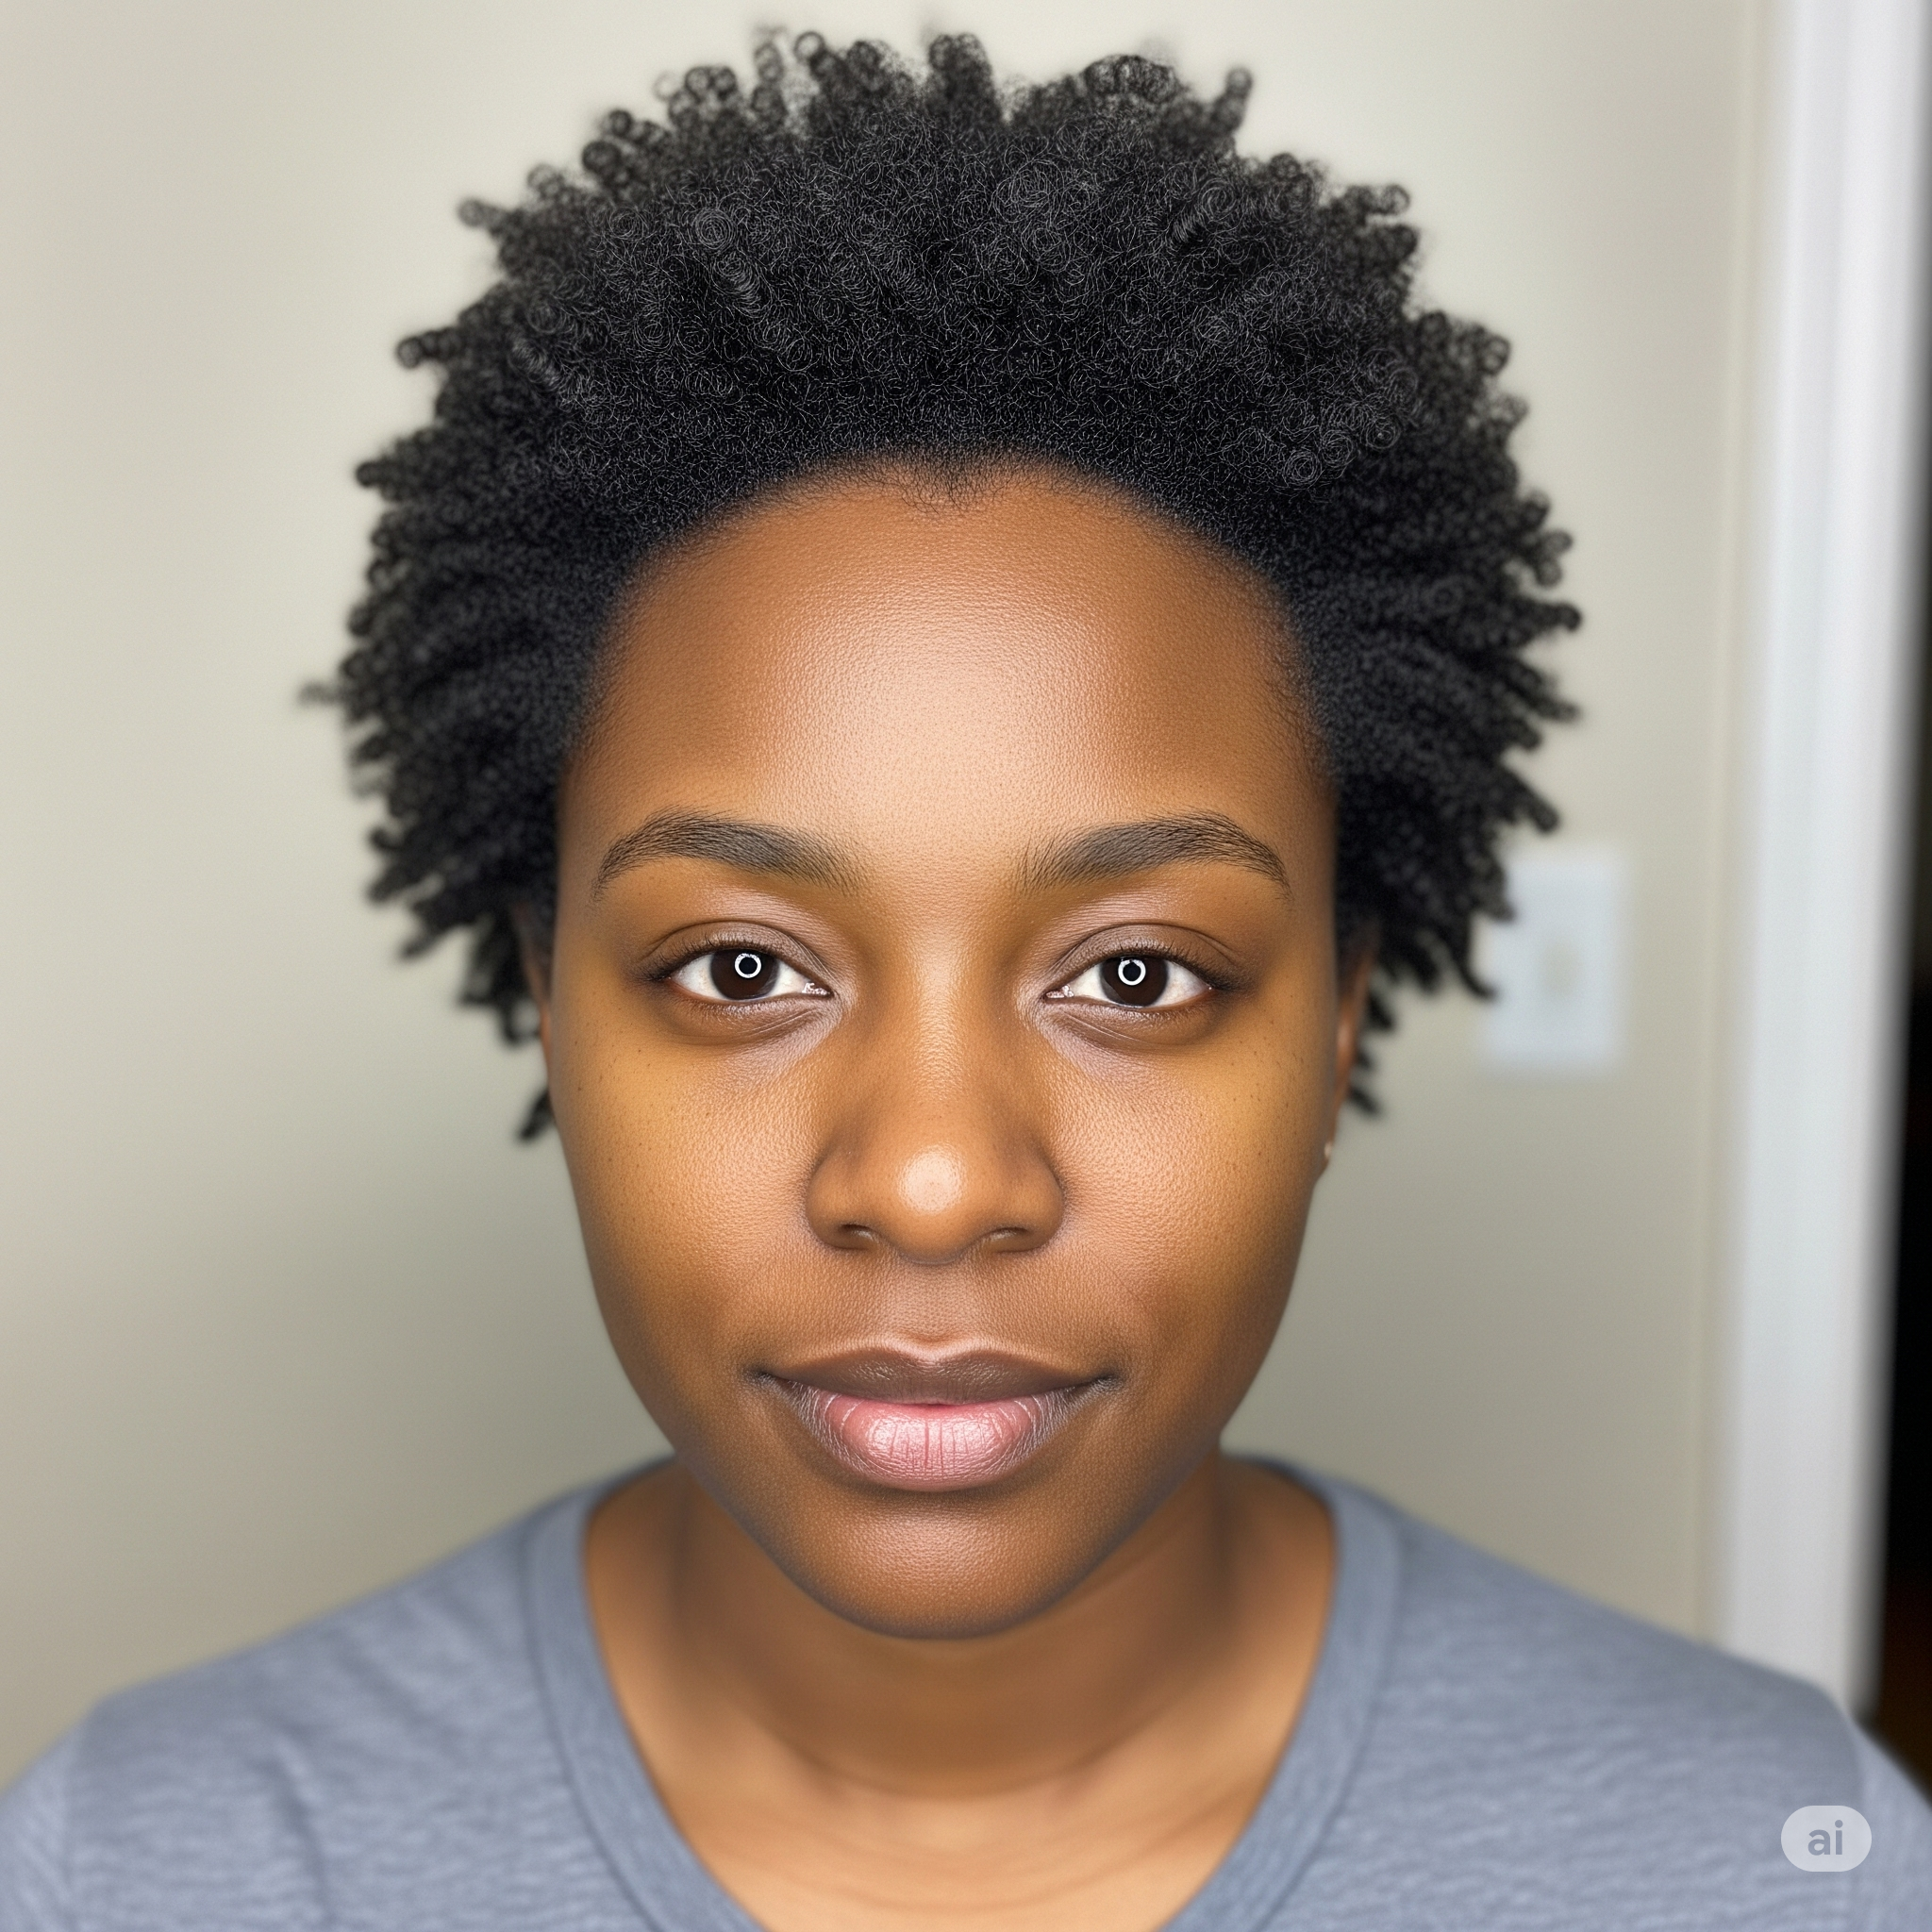
Here’s where things get real – matching your curl pattern is everything. You wouldn’t wear a size 8 shoe when you’re a size 10, right? Same logic applies here. Take a close look at your natural texture. If you have 3B curls, don’t go for 4C extensions thinking you can make it work (been there, learned that lesson the hard way).
Human hair extensions are always going to be your best bet. Yes, they’re pricier than synthetic options, but they blend better, last longer, and can handle heat styling when needed. Look for brands that specifically cater to textured hair and always read reviews from people with similar hair types.
Color matching is another crucial factor. Your extensions should be either an exact match or slightly lighter than your natural hair – you can always darken them, but lightening is trickier.
Tools & Products You’ll Need
Before diving into our curly hair extensions tutorial, let’s gather your arsenal:
- Wide-tooth comb (your curls’ best friend)
- Sectioning clips
- Spray bottle with water
- Leave-in conditioner
- Curl cream or gel
- Light oil (jojoba or argan work beautifully)
- Diffuser attachment (if you plan to use heat)
Having everything ready makes the process so much smoother, trust me on this one.
Step-by-Step Curly Hair Extensions Tutorial
Step 1: Prep Your Natural Hair
Start with clean, moisturized hair. I cannot stress this enough – dry hair and extensions do not mix well. Apply your favorite leave-in conditioner and gently detangle using your wide-tooth comb. Work in sections from ends to roots to minimize breakage.
Step 2: Section Your Hair Properly
Create horizontal parts across your head, starting from the nape of your neck. Think of it like building layers in a cake – each section should be about an inch apart. Clip away the hair you’re not working with to keep things organized.
Step 3: Apply Extensions
For clip-ins, gently backcomb the section where you’ll attach the extension (this gives the clips something to grip). Snap the clips in place, ensuring they’re secure but not pulling. For tape-ins or sew-ins, follow the specific instructions for your chosen method, always working with small sections.
Step 4: Blend the Curls
This is where the magic happens! Lightly mist both your natural hair and extensions with water mixed with a little leave-in conditioner. Scrunch gently to encourage curl formation. The key is getting both textures to work together harmoniously.
Step 5: Final Styling Tips
Once everything’s in place, step back and assess. Use your fingers to gently separate and shape curls. Create a natural-looking part and fluff where needed. Less is more at this stage – over-manipulation can lead to frizz.
Pro Tips for a Seamless Blend
Want to know what separates the pros from the amateurs? These insider tips:
- Slightly stretch your natural curls by gently pulling them while damp to better match looser extension textures
- Try twist-outs or braid-outs on your natural hair before installing extensions for better blending
- If you must use heat, keep it low and always use a heat protectant
- Don’t be afraid to trim your extensions to match your hair’s natural shape and length
How to Maintain Curly Hair Extensions
Natural hair growth is important, but so is maintaining what you’ve got! Treat your extensions like you would your natural hair – gentle washing every 7-10 days, deep conditioning regularly, and always storing them properly when not in use.
Sleep with a silk or satin pillowcase, and consider a loose protective style at night. Avoid heavy products that can weigh down your curls and always detangle when damp, never dry. The American Academy of Dermatology recommends gentle handling of textured hair to prevent breakage and maintain healthy growth.
Common Mistakes to Avoid
We’ve all been there – learning from trial and error. Save yourself the heartache by avoiding these rookie mistakes:
- Choosing extensions that don’t match your curl pattern
- Installing without proper sectioning (hello, lumpy results!)
- Going overboard with products
- Skipping the detangling step (recipe for disaster)
For more advanced techniques on blending extensions, check out this helpful guide on how black women blend extensions like pros.
Conclusion
Mastering curly hair extensions doesn’t happen overnight, but with this comprehensive curly hair extensions tutorial, you’re well on your way to achieving those head-turning looks you’ve been dreaming of. Remember, practice makes perfect, and every curl journey is unique.
The key to success lies in choosing the right extensions for your hair type, taking your time with the installation process, and maintaining both your natural hair and extensions properly. Don’t get discouraged if your first attempt isn’t perfect – even the pros had to start somewhere!
Ready to try curly extensions? Tag us in your new look and share your transformation story – we’d love to see how this tutorial worked for you!